Why do your cluster lashes stay put for a full week one time, yet barely last two days the next? More often than not, it isn’t your technique—it comes down to the glue you choose and how you apply it. ✨
Here is a quick overview of what to look for when choosing lash glue:
- Use an adhesive formulated specifically for DIY cluster lashes, never professional salon extension glue.
- Always check the ingredient list and follow package instructions, particularly the tack time (the brief window to wait before placing the cluster).
- Prep your natural lashes so they are clean, dry, and completely oil-free, and always apply the glue sparingly.
- Store your adhesive upright in a cool, dark place with the cap tightly sealed.
Why Salon Extension Glue Doesn’t Work for Cluster Lashes
Professional lash artists use cyanoacrylate-based adhesives, which fall into the same chemical family as superglue. These high-strength formulas are engineered exclusively for trained professionals who isolate and attach a single extension to an individual natural lash. In fact, most manufacturers of professional adhesives explicitly warn against using them on clusters or strip lashes.
At-home cluster lash glues work on an entirely different principle. They are designed to adhere to the base of the cluster and bond seamlessly underneath your natural lash line, giving you enough working time to adjust placement. That flexibility makes DIY application straightforward and stress-free: with Afterglow cluster lashes, you can achieve a full, salon-quality look at home in just 5 to 15 minutes—all without a technician and at a fraction of the salon price. 💸
To learn more about how the two methods stack up, check out our guide on cluster lashes vs. lash extensions.
What to Look for When Choosing Lash Glue
Before picking an adhesive, keep these key factors in mind:
- Formula suitability. Choose an adhesive crafted specifically for cluster or false lashes. Never attempt to use salon-grade extension glue or household adhesives.
- Ingredients. Review the ingredient profile before purchasing. Afterglow lash glue is formulated with acrylates copolymer, water, propylene glycol, and CI 77266 pigment. It delivers a gentle, water-based hold without the harsh fumes of cyanoacrylates.
- Tack time. Working times vary by brand: some formulas become tacky in 10 to 20 seconds, while others need 30 to 60 seconds, or even a couple of minutes. Always check the directions on your specific product for the ideal window.
- Color. Clear glue dries invisible, making it very forgiving if your placement isn’t spot-on—especially on fair natural lashes. Black glue blends effortlessly into darker lash lines, subtly defining the eye like a soft sweep of eyeliner. According to its specifications, Afterglow lash glue sets quickly and dries to a completely seamless finish.
- Lash sealer. Sealer works hand-in-hand with your adhesive. Brushing a coat of sealer over the clusters locks the bond in place, repels moisture, and extends wear time.
If you are new to DIY lash application, pairing a glue and sealer from the same product line is the easiest way to ensure optimal compatibility and performance.

How to Apply Lash Glue for Long-Lasting Hold
Even the highest-quality adhesive will fail if your natural lashes aren’t prepped correctly. Follow these steps to maximize your wear time:
- Cleanse your eyelids and lashes thoroughly to remove every trace of makeup, skincare, and natural oils. An oil-free micellar water or foaming cleanser works best. Make sure the eye area is completely dry, and avoid applying lashes right after a steamy shower.
- Apply a minimal amount of glue directly to the base of the cluster or along the underside of your natural lash roots—never coat the lengths like mascara. The Afterglow guide recommends paying extra attention to the inner and outer corners for a secure hold.
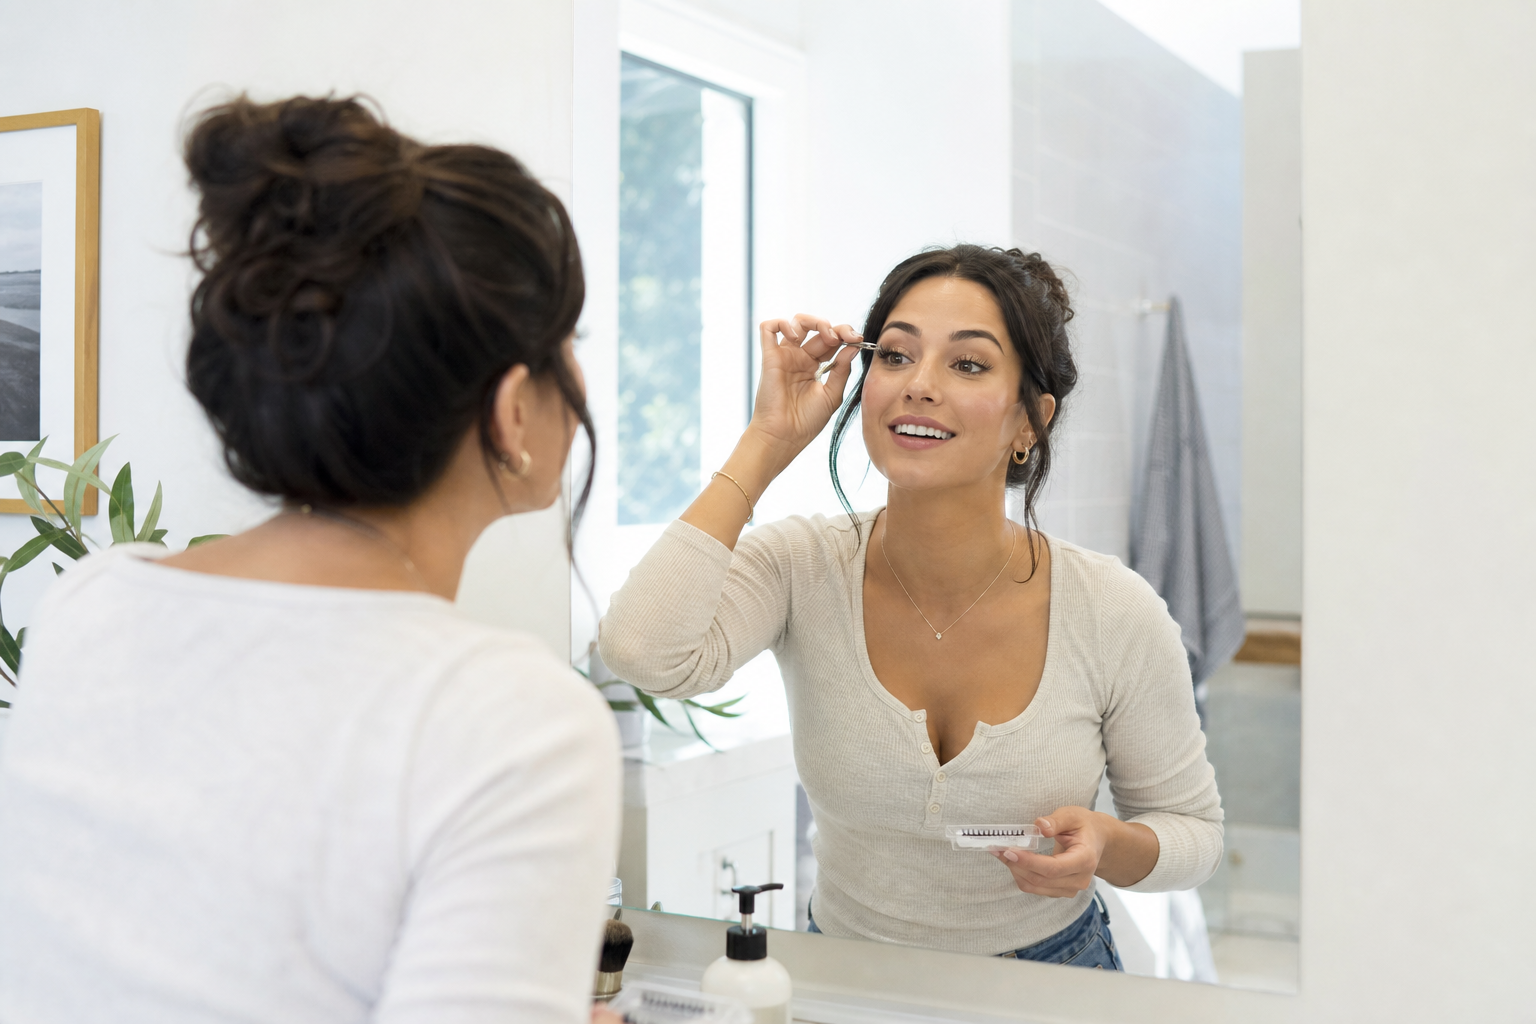
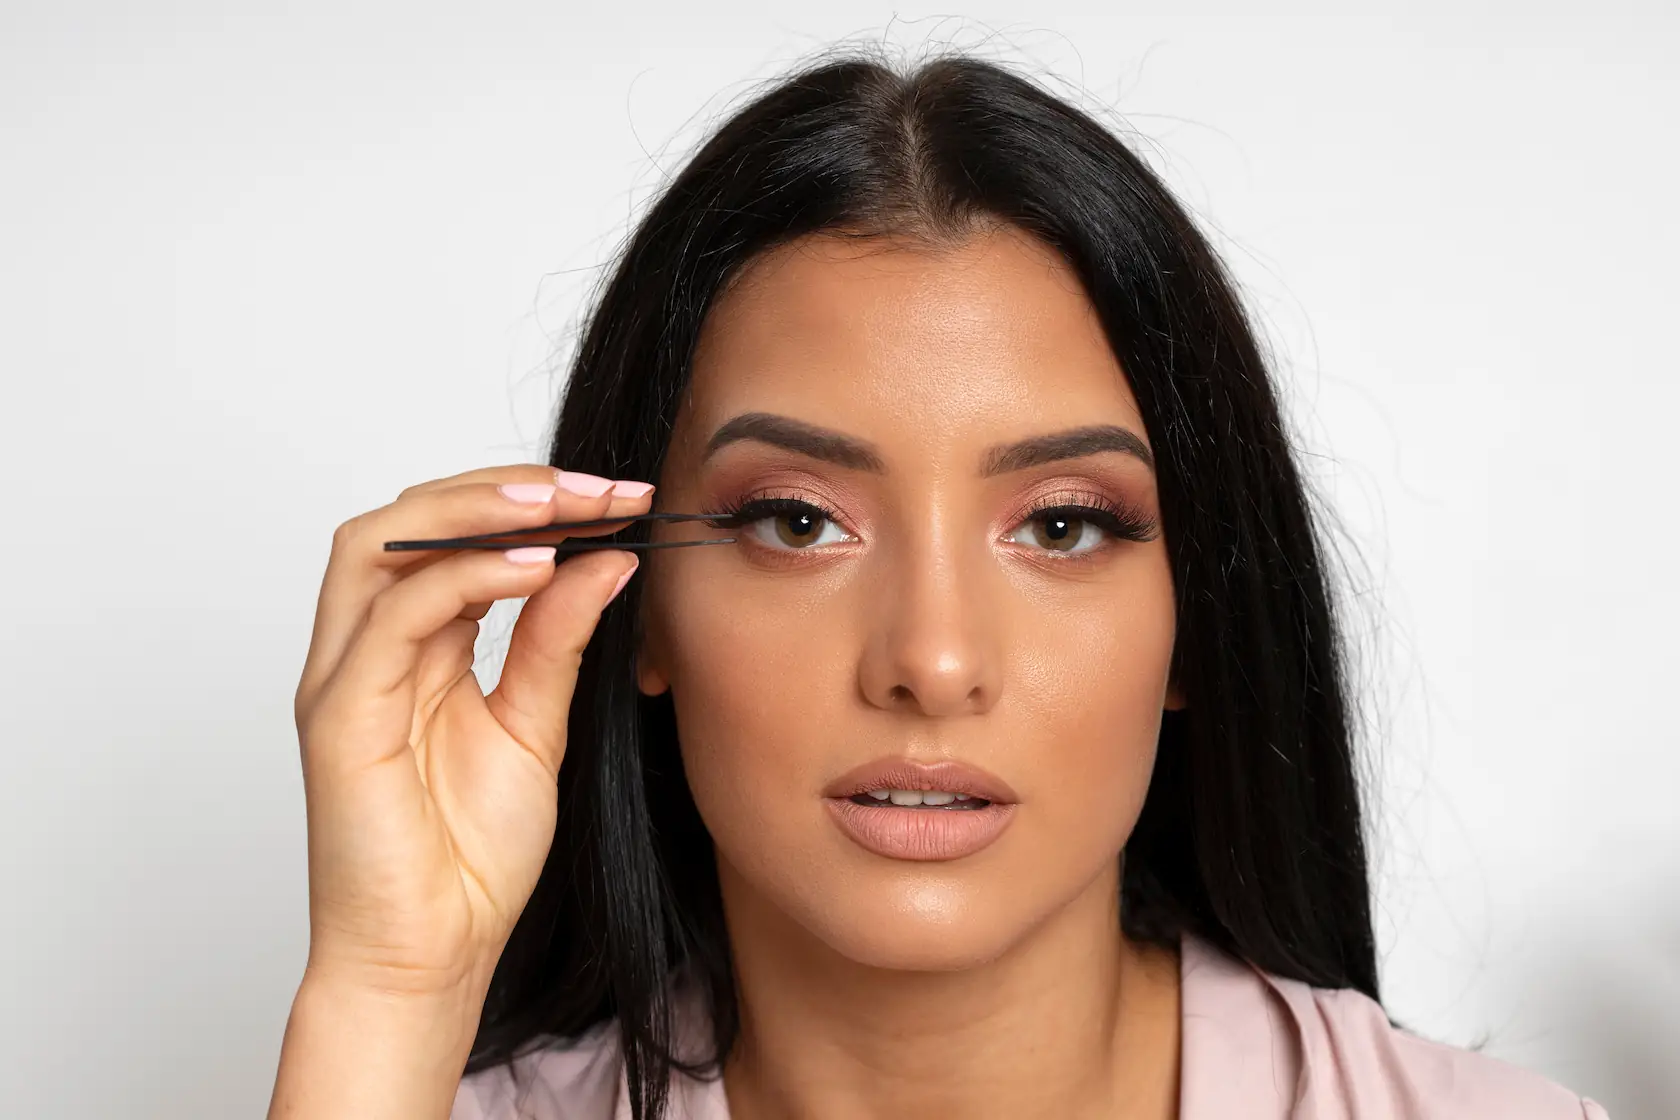
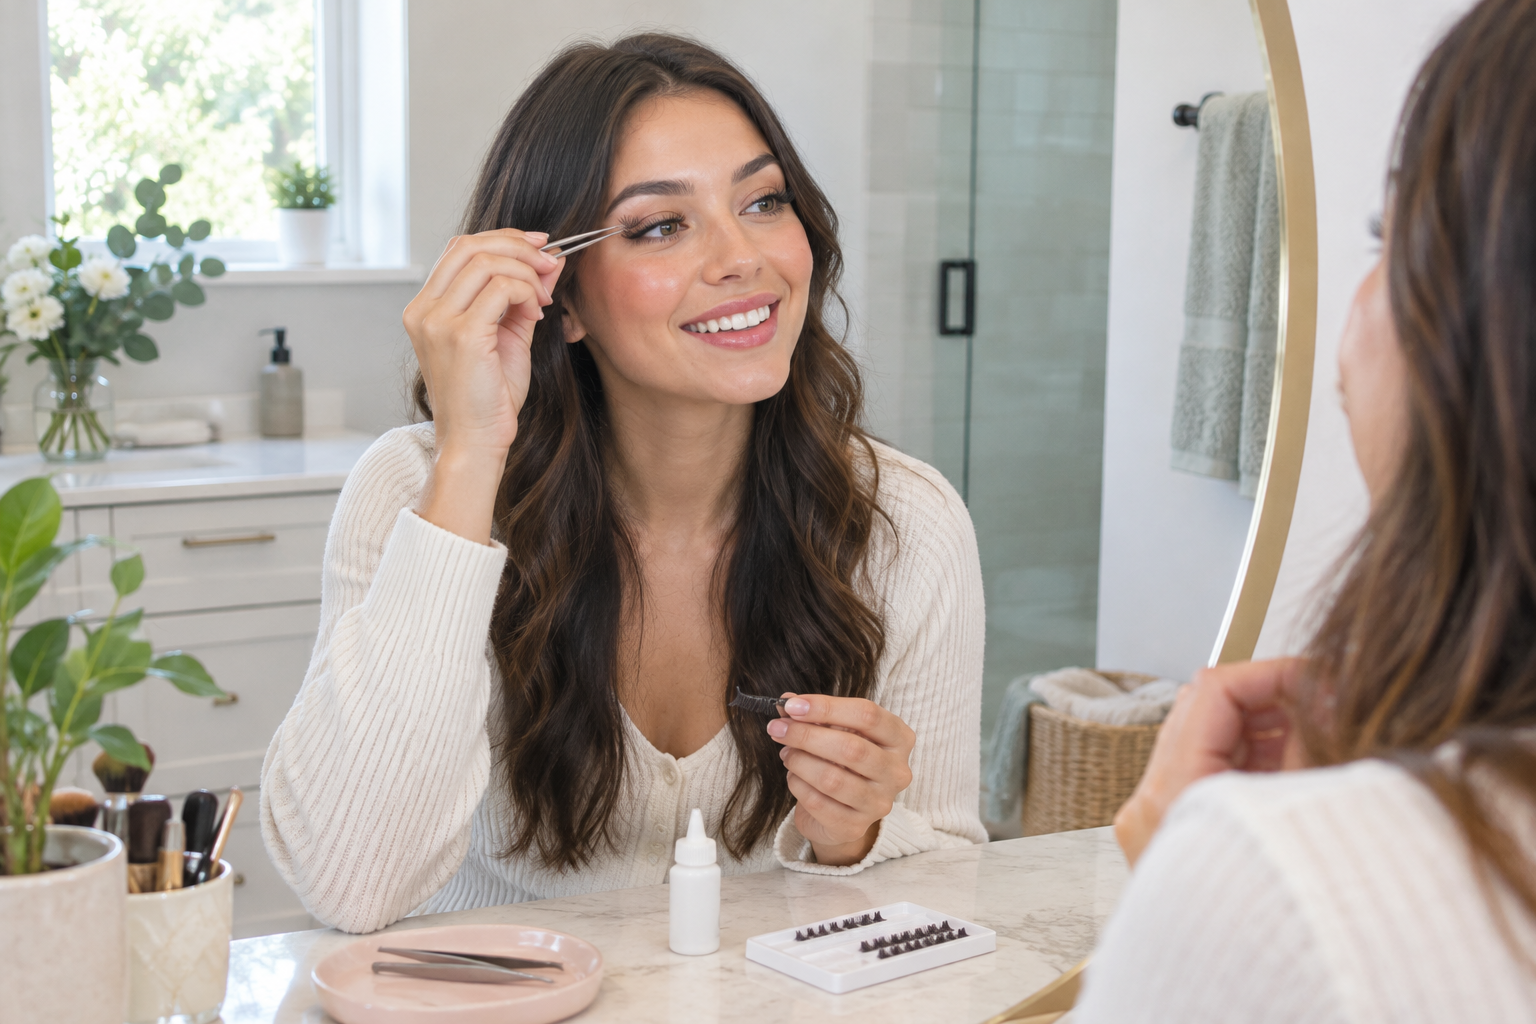
- Wait for the glue to become tacky, following the package instructions. Using lash tweezers, place each cluster underneath your natural lashes, working your way from the outer corner inward.
- Finish with lash sealer. As recommended by Afterglow, wait roughly 15 minutes after application, then gently clamp the lashes together using your fingers or a lash tool to fuse the bond.
- Keep your lashes dry and avoid steam, saunas, and intense workouts for the first 24 hours.
- Steer clear of oil-based skincare, cleansers, and eye creams, as oils will break down the adhesive bond.
Less is always more: using a sparing amount of glue creates a clean, lightweight finish, whereas excess glue can feel heavy and clump noticeably between clusters. For a complete step-by-step walkthrough, see our detailed guide on cluster lash application. 😊
If your clusters begin lifting earlier than expected, check for these common culprits:
- Lingering oils, makeup, or moisture on the natural lashes
- Using too much or too little adhesive
- Placing the cluster before the glue became tacky, or after it had already dried
- Exposing the lashes to water, humidity, or heavy steam during the first 24 hours
- An expired or thickened bottle of glue
For a breakdown of what to expect and how to prolong your set, take a look at our article on how long cluster lashes last. With the right technique and aftercare, Afterglow cluster lashes comfortably last 5 to 7 days.

How to Store Lash Glue
Even top-tier adhesives will degrade quickly if exposed to air and fluctuating temperatures. Proper storage keeps the formula fresh from the first application to the last:
- Seal the cap tightly immediately after every use.
- Store the bottle upright in a cool, dry, and dark spot away from direct sunlight and heat sources.
- If glue collects around the nozzle, wipe it clean with a lint-free wipe or dry tissue before capping.
- Keep the manufacturer’s recommended shelf life in mind, as stability varies from formula to formula.
If your adhesive changes consistency, thickens, turns stringy, or develops an unusual odor, it is time for a replacement. An expired glue will not provide a reliable bond.
How to Remove Lash Glue Safely
Never pull or peel cluster lashes off dry, as this can easily rip out your natural lashes. Always use a dedicated lash remover formulated to gently dissolve the bond without friction. Read our comprehensive tutorial on how to clean and remove cluster lashes for safe, damage-free removal.
You can pick up your lash glue, sealer, and remover together in an all-in-one starter kit, or grab the sealer and remover separately to round out your lash routine.


Ready to build your set? Explore our full collection of cluster lashes and glues, and enjoy 10% off your first order. 💛