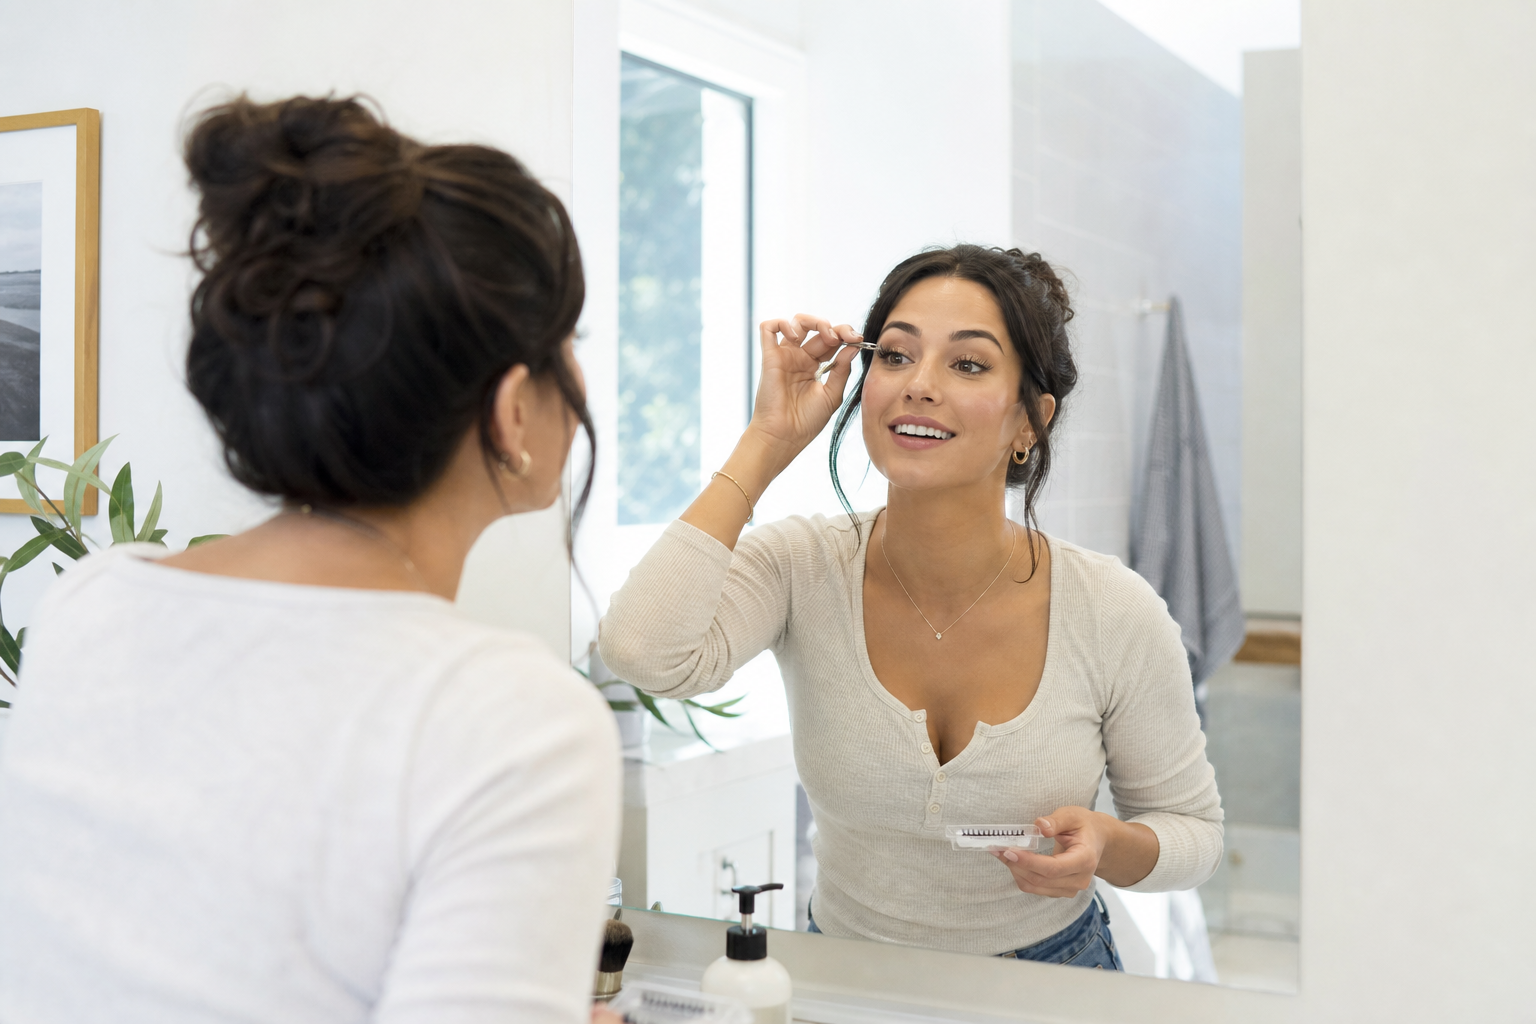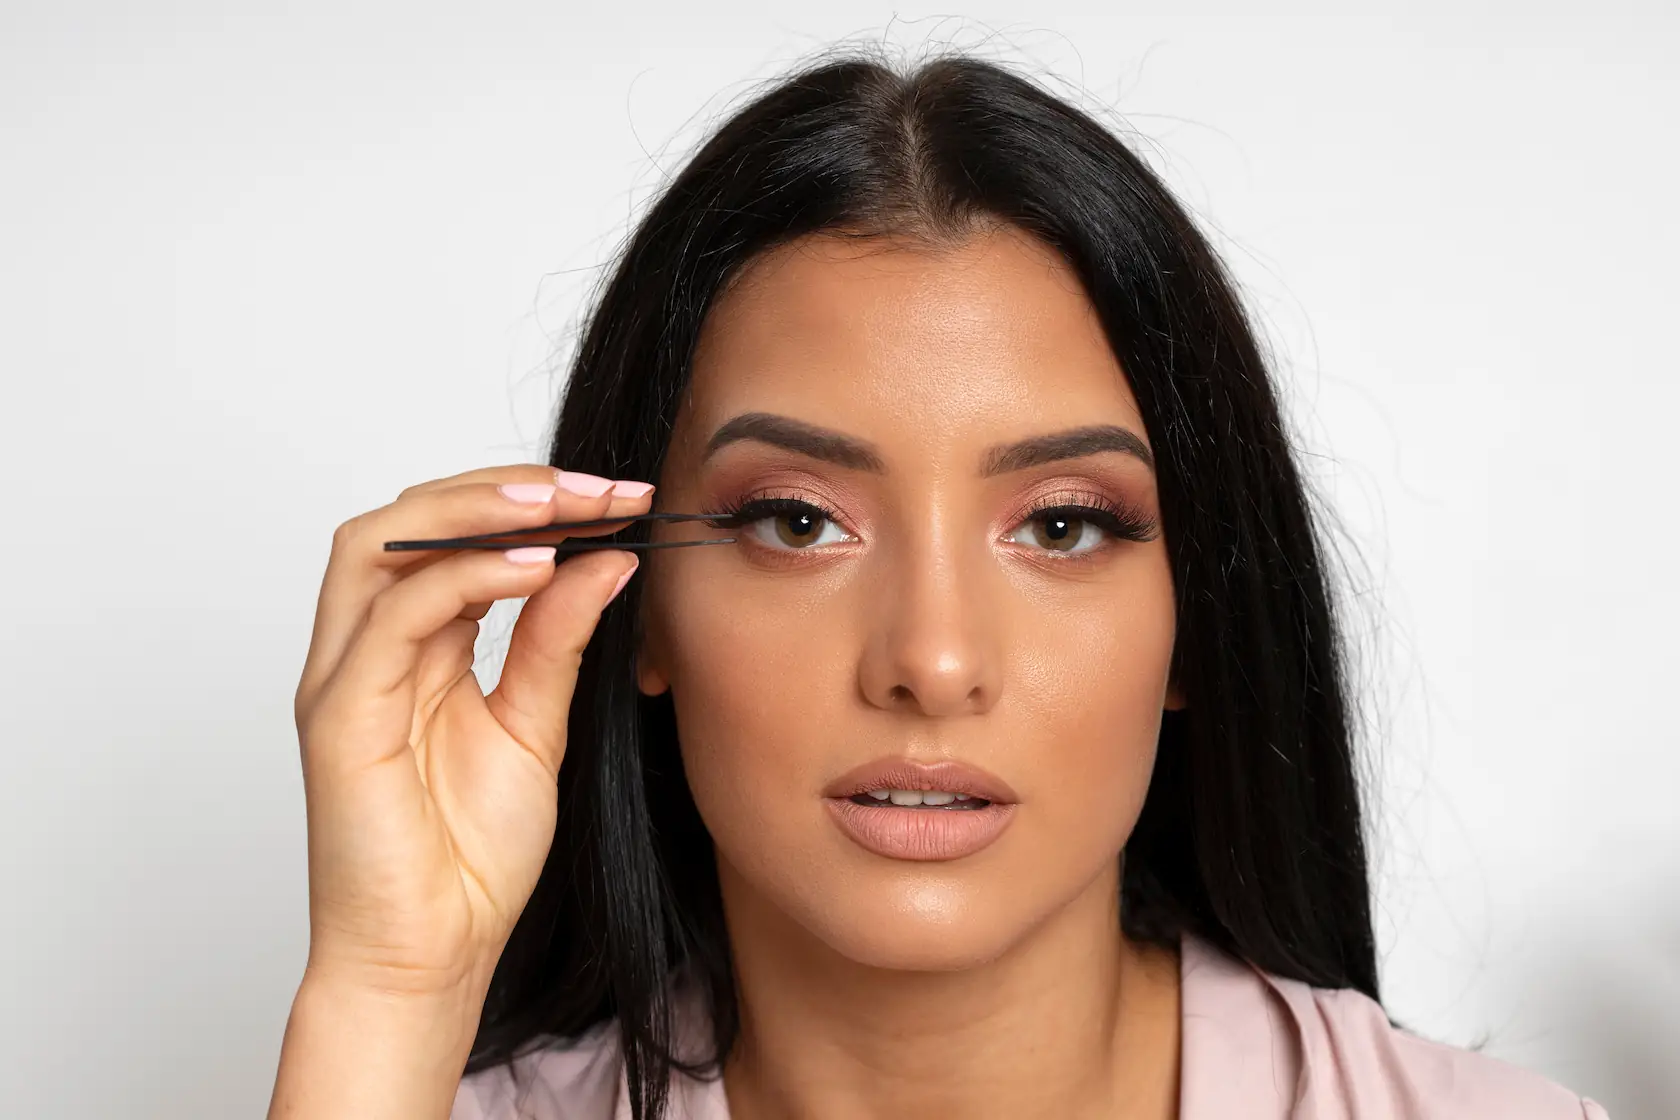
Are your cluster lashes shedding sooner than they should? Getting salon-quality retention at home comes down to three fundamental rules: prepping with completely clean natural lashes, using a thin layer of adhesive, and leaving them undisturbed for the first 24 hours. 😊
With the right technique and consistent aftercare, Afterglow cluster lashes can comfortably last 5 to 7 days. Here are the five key steps to maximizing wear time:
- Thoroughly cleanse and dry your natural lashes so the adhesive has an optimal surface to grip.
- Apply clusters underneath your natural lashes, leaving a 1–2 mm gap from the waterline.
- Work with a thin layer of glue and give it a few seconds to become tacky before placing each cluster.
- Apply a lash sealant, then gently fuse the clusters to your natural lashes after 15 minutes.
- Keep your lashes away from water and steam for the first 24 hours.
Start with Clean, Oil-Free Lashes
Lash glue needs a bare, oil-free surface to form a secure bond. Natural sebum, skincare residues, and residual eye makeup create a slick barrier that prevents clusters from adhering properly. As lash adhesive brands like Stacy Lash note, oils actively break down cyanoacrylate bonds—making thorough cleansing the absolute foundation of lasting retention.
Before applying your lashes, cleanse your eye area with an oil-free makeup remover, micellar water, or a gentle lash shampoo, and ensure your lashes are completely dry. Steer clear of rich eye creams, facial oils, and heavy moisturizers beforehand. 💧
Once your lashes are clean and dry, give them a gentle curl. Lifting your natural lashes creates clearer access underneath, making cluster placement much simpler and far more precise. If you are just starting out, take a look at our guide on cluster lashes for beginners.
Master Cluster Placement
Your placement technique is just as crucial to retention as the glue you choose. Always apply clusters to the underside of your natural lashes—never directly on top or onto the skin of your eyelid—leaving a 1–2 mm margin from the lash root. Sticking clusters directly onto the skin will cause irritation, lift prematurely, and shed quickly as your skin produces oils.
Work from the outer corner of your eye inward, placing clusters neatly side by side without overlapping the bands. Most lash maps call for 4 to 6 clusters per eye. Overlapping the bases can create bulky spots that tug on adjacent lashes and lift prematurely.
For a detailed walkthrough, follow our step-by-step guide on how to apply cluster lashes. If it’s your first time doing an at-home application, plan on setting aside about 15 minutes.
Glue Application and Timing
When it comes to lash adhesive, less is truly more. Sweep a thin, even coat of glue across your natural lashes, paying close attention to the inner and outer corners where lifting happens first. Over-applying glue causes clumping, prolongs drying time, and can make clusters stick together messily.
Once the glue is on, wait 15–30 seconds for it to turn slightly tacky. That tacky sweet spot provides instant grip and prevents the cluster from sliding out of alignment during placement.
Keep your application environment in mind, too:
- Apply your lashes in a well-ventilated room with moderate humidity rather than in a steamy bathroom right after a hot shower. Professional adhesive brands recommend working in 40–60% relative humidity (for instance, Xtreme Lashes suggests 45–60% and Stacy Lash recommends 50–60%). Because cyanoacrylate cures by drawing moisture from the surrounding air, an overly humid or steamy space causes the glue to flash-cure too fast—hardening before you’ve locked the cluster properly into place.
Afterglow lash glue dries quickly and cures clear for a seamless, undetectable finish. 👁️
Lash Sealant and the 15-Minute Rule
Once you’ve placed every cluster, lock in your work with a coat of lash sealant. Sealant neutralizes any lingering stickiness, protects the bond from dust and oils, and significantly extends wear time. Afterglow sealant dries clear and weightless, keeping your lash line looking neat and natural. ✨
Finish applying and sealing your second eye, then wait approximately 15 minutes before fusing. Using clean fingers or a curved lash applicator, gently clamp the clusters and your natural lashes together along the base. This step eliminates tiny air pockets and secures a tight, durable bond.


Protect Lashes During the First 24 Hours
The first 24 hours post-application are make-or-break. Cluster lash glues rely on cyanoacrylate compounds that require roughly a full day to cure completely and achieve maximum tensile strength. Exposing the bond to water or heavy moisture during this critical curing phase weakens the adhesive structure. 🚫
To protect your set during the first day, steer clear of:
- Showers, saunas, hot tubs, and swimming pools
- Facial steamers and hot cooking steam
- Concentrated airflow from hair dryers directed at your face
- High-intensity workouts that cause heavy facial sweating
Once that 24-hour window passes, you can return to normal showers—just avoid letting high-pressure water spray directly against your face. Cleanse around the eyes with care and gently pat dry rather than rubbing, since water combined with friction will speed up shedding. For more tips, check out our guide on cluster lashes and water.
If you plan on going swimming later in the week, make sure the lashes have cured for at least 24 hours, add an extra layer of sealant beforehand, and wear goggles whenever possible.
Daily Habits for Maximum Longevity
How you treat your lashes on a day-to-day basis directly dictates how long they last. Build these simple habits into your routine to keep your clusters intact for the full 5–7 days:
- Stick exclusively to oil-free cleansers, serums, and cosmetics around the eye area.
- Sleep on your back or invest in a silk or satin pillowcase to minimize overnight friction. 😴
- Keep your hands away from your eyes—avoid rubbing, pulling, or picking at the clusters.
- Comb through your lashes with a clean spoolie each morning to keep them neat and untangled.
Troubleshooting Common Retention Issues
Pinpointing exactly when and where your clusters lift makes it easy to adjust your technique:
- Lifting at the corners: Focus on applying an adequate, even layer of adhesive to the very ends of the lash line, and ensure corner clusters aren’t positioned too close to the sensitive inner tear duct.
- Clusters dropping off within 24 hours: The adhesive bond was likely compromised by water, steam, or sweat during the curing window, or the sealant step was skipped.
- Entire segments falling off together: Natural lashes may have had residual oils during application, or clusters were attached to the eyelid skin rather than the underside of the natural lashes.
- Clusters sticking together and clumping: Too much glue was used. Apply a lighter, more controlled layer next time.
If an individual cluster happens to detach prematurely, there’s no need to remove the entire set. Never yank off a loose cluster—simply dissolve the remaining bond gently with remover and pop a fresh cluster into its place.

Safe Removal Keeps Natural Lashes Healthy
When you are ready to take your set off, never peel or pull clusters away dry, as this can pull out your natural lashes. Instead, reach for a dedicated lash remover that gently dissolves the adhesive bond without causing damage. 🧼
For an in-depth look at proper removal, sanitizing, and storage, explore our guide on how to clean cluster lashes. To learn more about standard wear timelines, read our breakdown on how long cluster lashes last.
Try Afterglow Cluster Lashes
Every pack of Afterglow cluster lashes includes 144 individual clusters—giving you multiple custom sets at a fraction of the price of salon lash extensions.

Browse our full collection of cluster lashes and application essentials, and enjoy 10% off your very first order! 🎉