Kas sul on raske valida sobivat ripsmekaart? Õige kaar muudab sinu pilgu avatumaks ja rõhutab sinu loomulikku ilu. Siit leiad lihtsa teejuhi, et leida oma silmakujuga sobivaim stiil! ✨
Tunne erinevaid ripsmekaari ja nende mõju
Ripsmekaar määrab selle, kui “tõstetud” või kaardus on sinu ripsmed. Erinevad tähed tähistavad kaare tugevust ning igaühel neist on oma roll täiusliku pilgu loomisel. 🪄
- J-kaar on kõige loomulikum ja sarnaneb oma kumeruselt kõige rohkem sinu enda ripsmetele. See sobib suurepäraselt neile, kes soovivad vaid õrna pikkuse lisamist ilma suurema draamata.
- B-kaar pakub pehmet ja naturaalset tõstet, olles ideaalne igapäevaseks kasutamiseks ja klassikalise välimuse loomiseks.
- C-kaar on kõige populaarsem ja mitmekülgsem valik, mis avab silma ning sobib peaaegu igale silmakujule. See annab märgatava, kuid siiski tasakaalustatud efekti.
- D-kaar on sügav ja julge kumerus, mis on loodud neile, kes soovivad dramaatilist ja silmapaistvat “nuku-silma” efekti.
- L- ja M-kaar on erilise kujuga, pakkudes tugevat tõstet just nendel puhkudel, kui soovid kassisilma efekti või sul on raskemad laud.
See aitab sul valida just sellise välimuse, mis sobib sinu isikupäraga. Mida vähem sa ripsmeid liigselt koormad, seda kauem need kaunina püsivad. 😊
Vali ripsmekaar oma silmakuju järgi
Iga silm on unikaalne ning õige kaare valik aitab peita puudusi ja rõhutada tugevusi. Erinevad ripsmetutikute stiilid võimaldavad sul oma välimust täpselt kohandada vastavalt sellele, millist tulemust soovid saavutada. 👁️
- Mandlisilmad on väga universaalsed ja neile sobivad peaaegu kõik kaared, kuid loomuliku ilu rõhutamiseks on parimad J-, B- või C-kaar.
- Ümarad silmad vajavad tihti visuaalset pikendamist. Proovi C- või D-kaart silma välisnurkades, et saavutada kütkestav kassisilma efekt.
- Kapuutsiga ehk raskete laugudega silmad saavad kasu tugevamast D- või L-kaarest, mis aitab ripsmed lau varjust nähtavale tuua ja pilku avada.
- Sügaval asetsevad silmad vajavad samuti tugevamat kaart (D või L), et ripsmed visuaalselt esile tungiksid ja silmad suuremana näiksid.
- Väikesed silmad näivad suuremad, kui kasutad lühemaid C- või D-kaarega tutikuid, mis on suunatud veidi väljapoole.
Arvesta oma loomulike ripsmete kasvusuunaga
Enne paigaldamist on oluline vaadata, kuhu poole sinu oma ripsmed vaatavad. Kui sinu ripsmed kasvavad pigem otse või allapoole, võib liiga tugev kaar jätta ebaloomuliku mulje, kui sa just ei kasuta spetsiaalseid ettevalmistusi. ✨
- Allapoole suunatud ripsmete puhul aitab B- või C-kaar luua märgatava tõusu ja kaarduvuse, avades pilgu koheselt.
- Ülespoole suunatud ripsmete puhul piisab sageli C-kaarest, et saavutada kaunis ja ühtlane tulemus ilma liigse draamata.
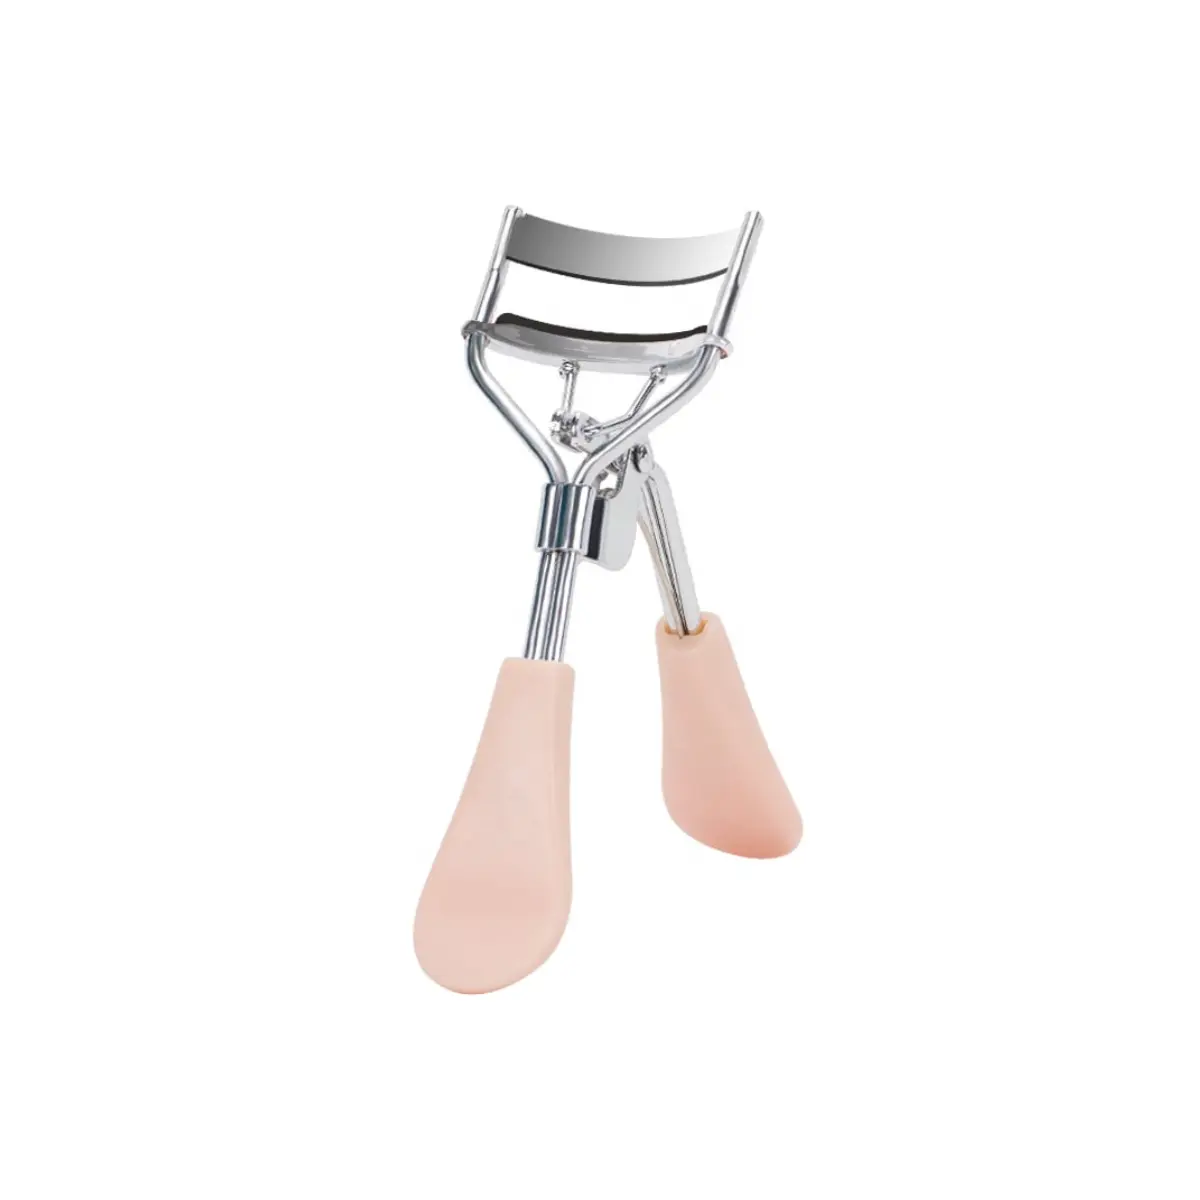
- Sirgete ripsmete ettevalmistamiseks on hea mõte kasutada enne paigaldust õrna ripsmekoolutajat, et tutikud paremini sinu enda karvadega haakuksid.
Kuidas saavutada püsiv ja veatu tulemus?
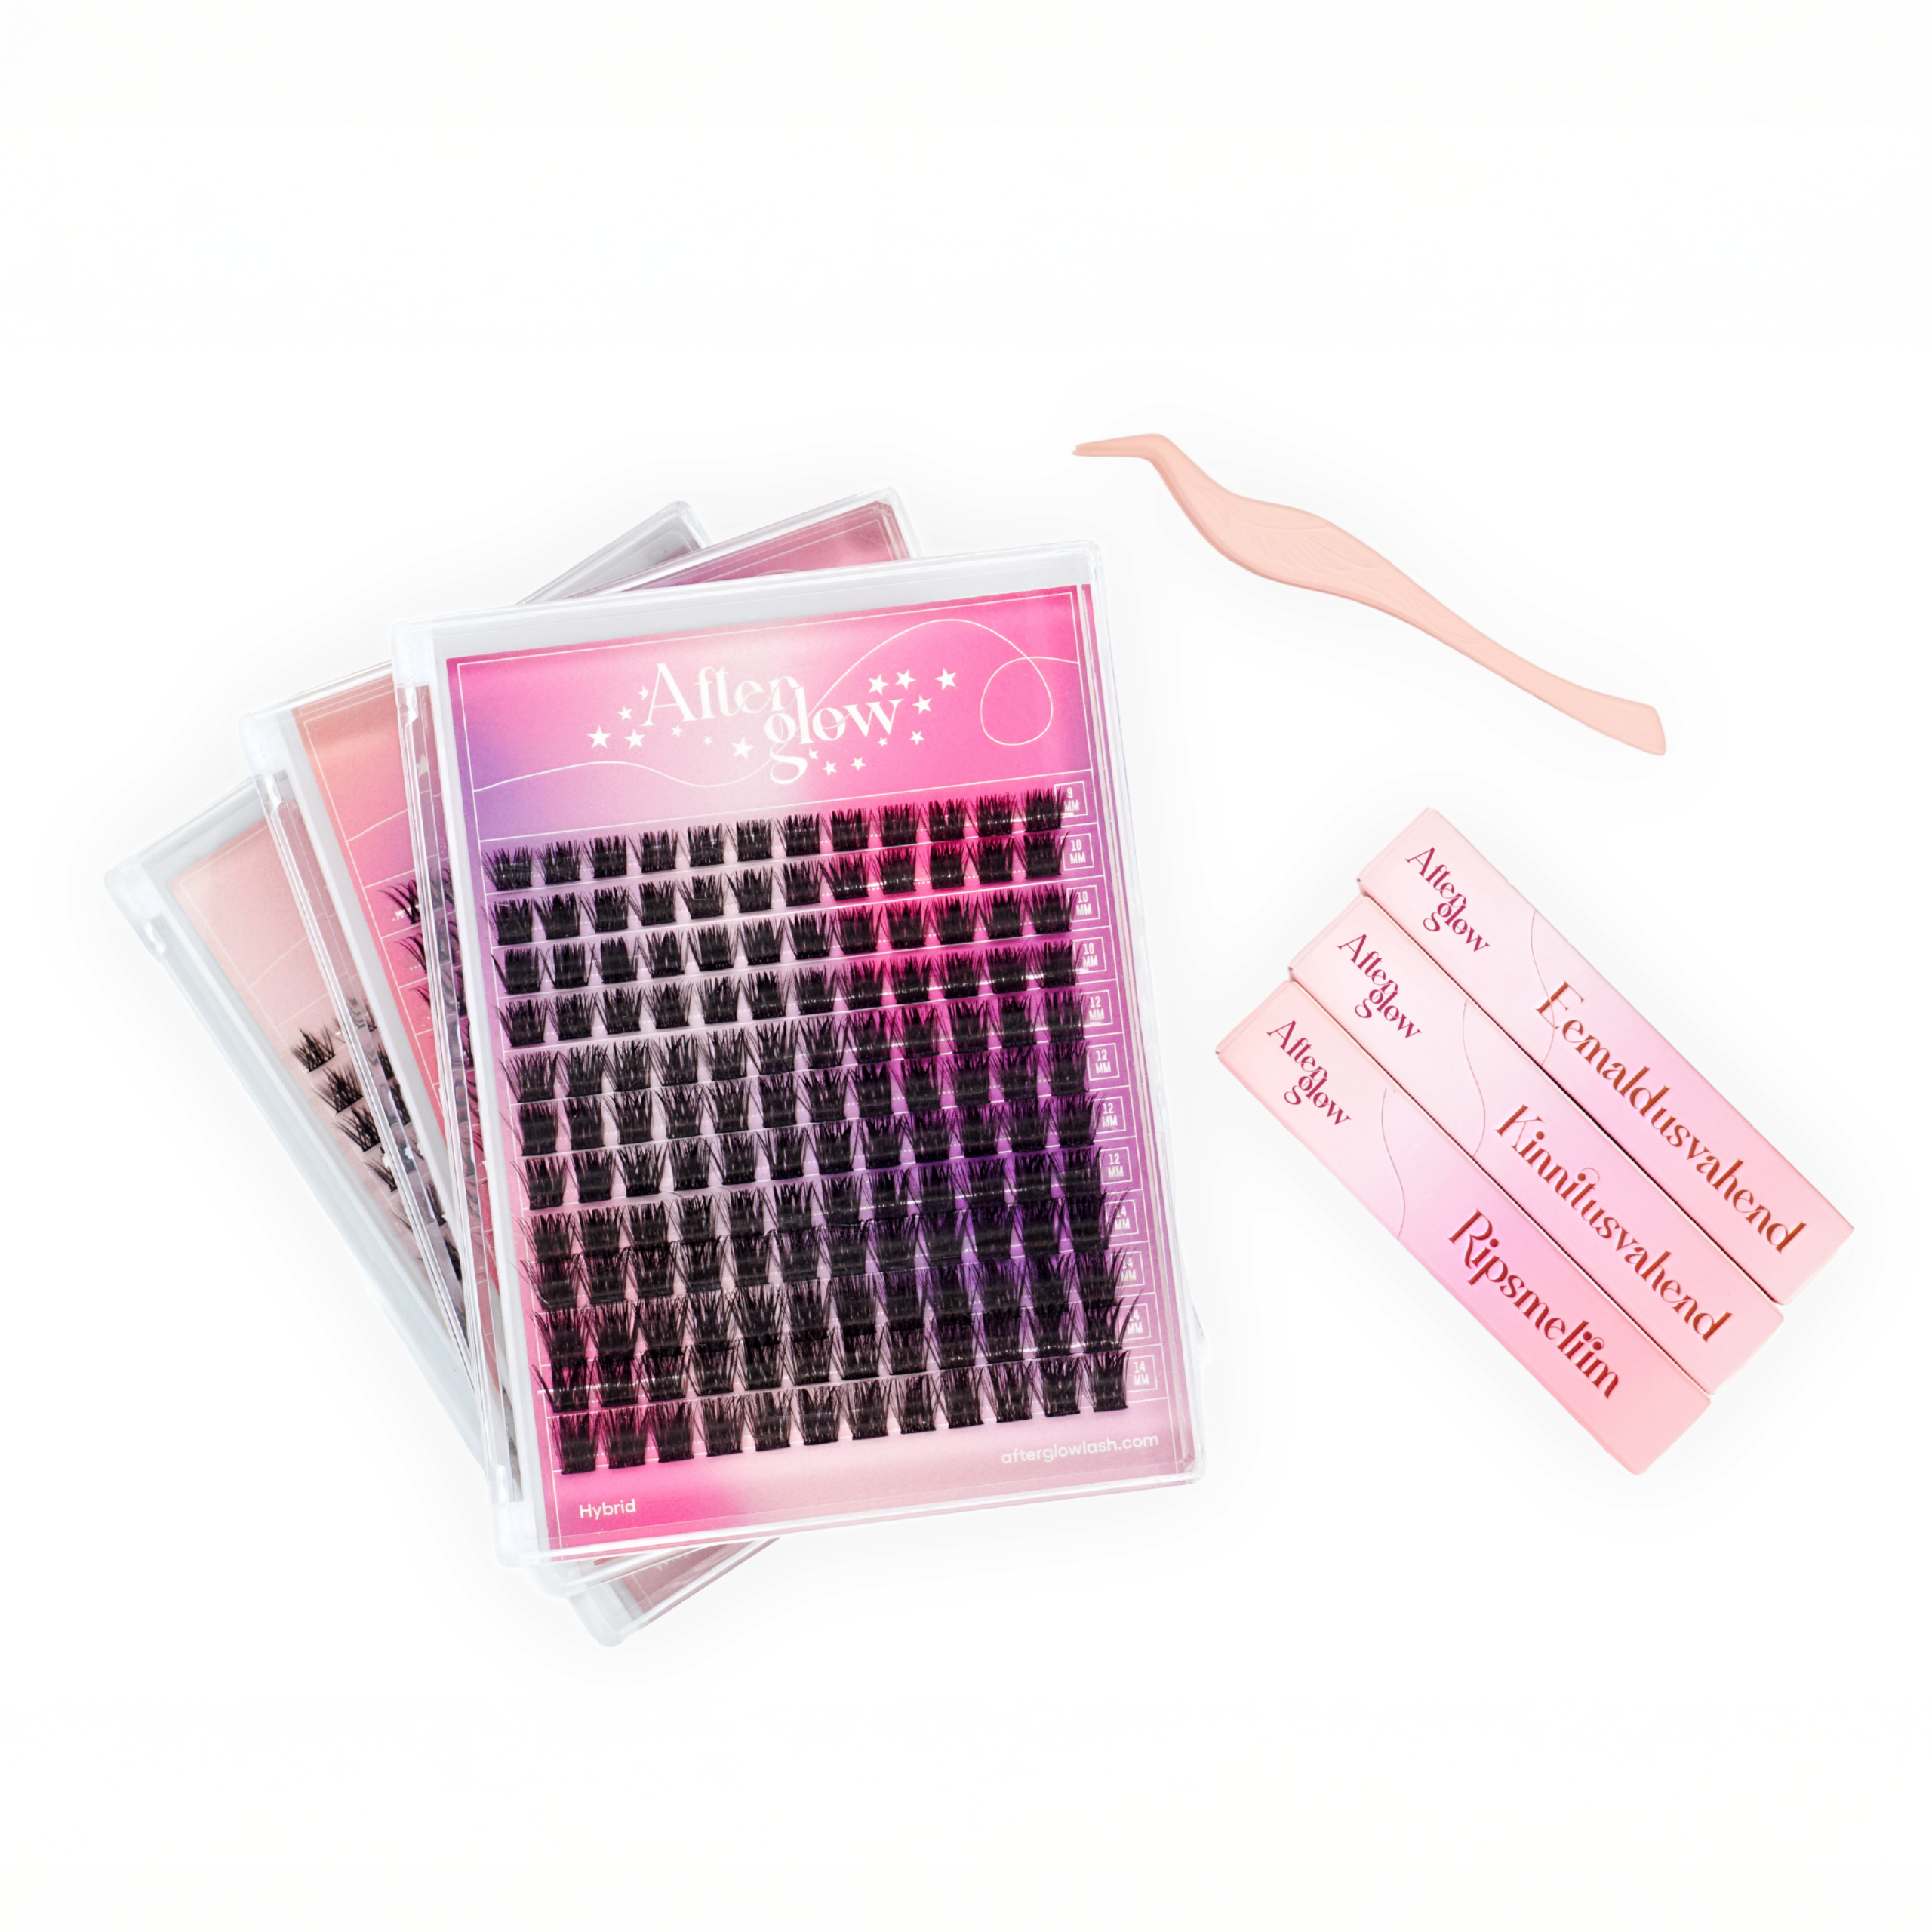
Kui oled leidnud oma ideaalse kaare, on aeg need paigaldada. Pea meeles, et ripsmetutikud on kordades soodsam lahendus kui salongihooldused ja nende paigaldamine võtab kodus vaid 5–15 minutit. ⏱️

Veendu, et sinu ripsmed on enne paigaldamist täiesti puhtad ja õlivabad. See on püsivuse seisukohalt kriitiline, sest ükski liim ei kesta mustal pinnal kaua. Kinnita tutik alati oma ripsmete alla, mitte peale – nii jääb kinnituskoht märkamatu ja tulemus loomulikum. 💖
Kvaliteetsed aksessuaarid, nagu täpsed pintsetid ja spetsiaalne kinnitusvahend, aitavad sul saavutada professionaalse tulemuse mugavalt oma kodus. Kui järgid hoolikalt paigaldusjuhiseid ja väldid esimesel 24 tunnil vett, võivad sinu uued ripsmed püsida kaunid kuni 7 päeva. 💫
Kui soovid oma pilku veelgi värskendada, siis heida pilk peale ka meie juhendile, kuidas valida ripsmeliimi, mis tagab kindla püsivuse terveks nädalaks. Leia oma uus lemmikstiil ja koge mugavust, mida pakuvad professionaalsed ripsmetutikud. Saa oma esimeselt tellimuselt 10% allahindlust! 🎀