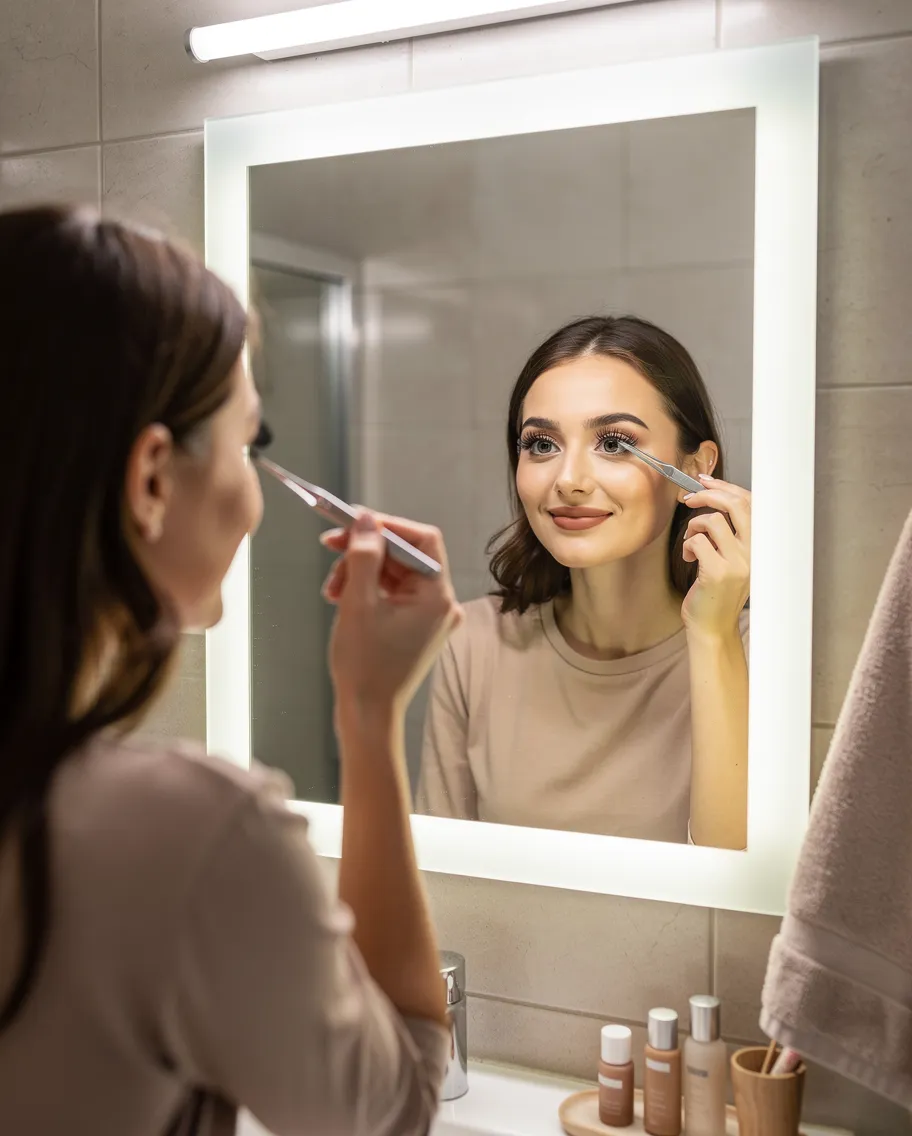
Kas unistad pikkadest ja tihedatest ripsmetest ilma salongi külastamata? Ripsmetutikud on lihtne ja taskukohane viis oma pilgu värskendamiseks otse koduse peegli ees. 👁️
Millised ripsmetutikud valida esimeseks korraks?
Esimest korda ripsmetutikuid valides tasub eelistada loomulikumaid ja kergemaid stiile, mida on mugavam silmale asetada. Algajatele sobivad suurepäraselt lühemad pikkused, näiteks ripsmetutikud 8-9mm või ripsmetutikud 9-10mm. Need pikkused loovad loomuliku efekti, mis sarnaneb kvaliteetse ripsmetušiga ja ei koorma sinu enda ripsmeid liigselt. 🌸
Erinevad ripsmetutikute stiilid võimaldavad sul valida just oma silmakujuga sobiva välimuse. Classic stiil on alati kindla peale minek igapäevaseks kandmiseks, samas kui Wispy pakub veidi mängulisemat ja tekstuursemat tulemust. Kuna ühes karbis on tavaliselt 144 ripsmetutikut, on sul piisavalt materjali, et rahulikult harjutada ja leida oma lemmik. ✨

Vajalikud tarvikud edukaks paigalduseks
Lisaks ripsmetele on oluline varuda õiged tööriistad, mis teevad protsessi lihtsaks ja nauditavaks. Ergonoomilised ja täpsed pintsetid on asendamatud, et hoida tutikut kindlalt ja see täpselt ripsmepiirile asetada. Samuti läheb sul vaja spetsiaalset ripsmeliimi, mis on loodud püsima kauem kui tavalised ribaripsmete liimid. 🛠️
Veendu, et sul on olemas ka kinnitusvahend ja eemaldusvahend, et tagada ripsmete pikk püsivus ja hilisem turvaline eemaldamine. Kinnitusvahend aitab liimi neutraliseerida ja kaitseb seda niiskuse eest, eemaldusvahend aga tagab, et saad ripsmed hiljem ohutult kätte. Kui soovid kõike korraga, on kõige mugavam valik liimi, kinnitus- ja eemaldusvahendite komplekt. 📦


Samm-sammuline juhend paigaldamiseks
Ripsmetutikute paigaldamine võtab aega vaid 5–15 minutit ja see on oskus, mille omandab igaüks kiiresti. Kui järgid neid lihtsaid samme, on tulemus professionaalne ja pilkupüüdev:
- Alusta alati puhastest ja kuivadest ripsmetest, eemaldades õlivaba vahendiga igasuguse meigi ja mustuse. 🧼
- Kanna õhuke kiht ripsmeliimi oma loomulikele ripsmetele, keskendudes eriti sise- ja välisnurkadele. ✨
- Oota umbes 15–20 sekundit, kuni liim muutub kergelt kleepuvaks – see aitab tutikul kohe kindlalt haakuda. ⏳
- Aseta ripsmetutikud oma ripsmete alla, mitte peale või naha vastu, jättes laugust umbes 1 mm vahe. 👁️
- Alusta paigaldamist silma välisnurgast ja liigu sisenurga suunas, kasutades ühe silma jaoks tavaliselt 4–6 tutikut. 📐
- Kanna peale läbipaistev kinnitusvahend, mis aitab liimil täielikult kuivada ja eemaldab kleepuvuse. 💧
- Oota vähemalt 15 minutit pärast paigaldamist ja alles siis pigista tutikud õrnalt pintsettidega oma ripsmetega kokku. 🤝
Täpsemat tehnikat näed ka meie ripsmetutikute paigaldus lehel asuvast videojuhendist. 🎥
Kuidas hoida ripsmeid kaunina?
Õige hooldus on võtmeks, et sinu uus pilk püsiks veatu 5–7 päeva. See, kui kaua ripsmetutikud püsivad, sõltub otseselt sinu igapäevastest harjumustest ja paigaldustehnikast. Mida vähem sa oma silmi hõõrud ja katsud, seda kauem need kaunid püsivad. 💖
Esimesed 24 tundi pärast paigaldust on kriitilised, seega väldi sel ajal vee, auru ja sauna sattumist ripsmetele. See aitab liimil täielikult polümeriseeruda ja tagab tugeva kinnituse kogu nädalaks. Edaspidi kasuta näo puhastamiseks ainult õlivabu tooteid, sest õli võib liimi järk-järgult lahustada ja püsivust vähendada. 🚿
Ohutu eemaldamine ja korduvkasutus
Üks suurimaid eeliseid on see, et ripsmetutikud on kordades odavam valik kui salongis paigaldatavad ripsmepikendused. Kvaliteetseid tutikuid on võimalik pärast eemaldamist puhastada ja uuesti kasutada. Siin on mõned nipid ohutuks ja valutuks protsessiks:
- Kasuta alati spetsiaalset õrnatoimelist eemaldusvahendit, mis on ohutu sinu silmadele. 🧴
- Kanna vahendit liimikohale ja lase sellel 1–2 minutit mõjuda, et liim saaks pehmeneda. ⏳
- Libista tutikud õrnalt ripsmetelt maha – ära kunagi tiri ega sikutage jõuga, et säästa oma loomulikke ripsmeid. 🚫
- Pärast eemaldamist puhasta tutikud liimijääkidest ja aseta need tagasi karpi järgmiseks korraks. 📦
Põhjalikumast kuidas ripsmetutikuid eemaldada juhendist leiad veelgi nõuandeid, kuidas protsessi täiesti ohutult läbi viia. 🕊️


Ripsmetutikute kasutamine on suurepärane viis enesekindluse tõstmiseks ja hommikuse meigirutiini lühendamiseks. Alusta oma teekonda juba täna ja naudi kaunist pilku igal hommikul!